One of the the first tasks to complete is to review and setup your Personal Profile and Preferences.
Personal Preferences contains several tabbed panels. Depending on your account type and permissions level, you may see additional tabs.
Profile
- Set your personal contact details (important!)
- Add your MLS Agent ID (to find your listings) (important!)
- Add your personal BIO / About Me (optional - having something will make your profile present better)
- Add your photo (important!)
- Select Your Business Name (this is added in Account Preferences) (important!)
- Select your Office Location (this is added in Account Preferences) (important!)
New-Lead Preferences
- Set the default campaign and website for new leads from the website or imported from Realtor.com or Zillow.
Email-Header
- Modify your email header (optional)
Signature
- Modify your Signature (important!)
Updating Your Profile
In your Buying Buddy dashboard, click your Profile in the top-right of the menu.
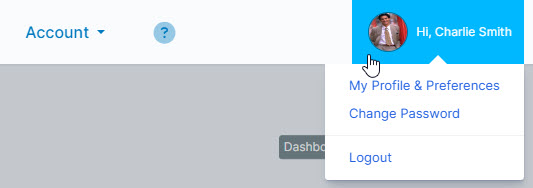
Click "My Profile & Preferences" to see your personal profile and preferences.
Profile Tab
This panel allows you to review and modify your Personal Profile and contact details.
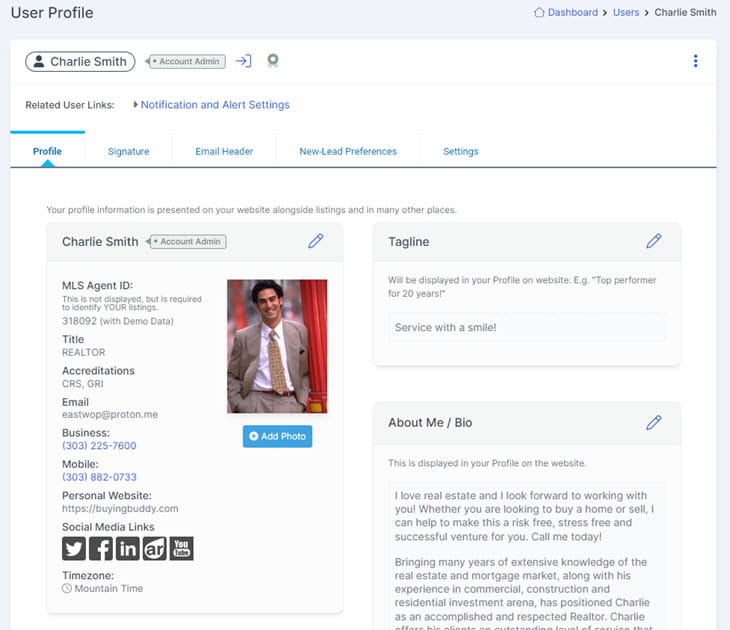
Contact and Profile Details
These are used when your details are shown on the website with any listing, or on the Profile / About widget.
These details are also used when you choose to generate a new email signature using one of the templates.
Photo
To upload a Profile Photo, click the UPLOAD button, then follow the instructions.
As part of the upload process, you will have the opportunity to crop your photo to the right proportions!
Tagline
Your tagline should be short and punchy - not more than a short sentence. This will appear with your profile on the Broker widget.
About Me
Add text here as your personal BIO and anything else. This will appear with your profile on the Broker widget.
Edit Profile
Click the "Edit Profile" button (at the bottom of the profile panel) to add or change the following details:
- Your Name
- Your MLS Agent ID and the associated MLS.
NOTE: The display of your featured listings requires that both values must be set correctly. - Password
- Job Title and Accreditations
- Email Address
- Business Name and Office Location (set up first in Account Settings)
- Phone Numbers
- Display Your Zillow Reviews and Ratings
- Social Profile links
Phone Numbers
Add your phone numbers. If you wish to receive SMS Notifications (e.g. new lead notification) then ensure you add a mobile number.
Your 'default' number will be shown with you profile on your website.
Please Note: On the various website displays of your profile, an 'Office' number may also be shown too - but this is the Office Phone Number that is set up for your selected Office.
This is managed in Account Settings > Office Locations.
Lead Referral ID (multi-user accounts only)
The User's Lead Referral ID is a unique reference number that can be used by Agents/Users in a Multi-User account (TEAM or OFFICE) to help ensure that resources and displays are explicitly tied to a specific User in your account.
The Referral ID can be used for:
and more

New-Lead Preferences Tab
This tab allows you to modify the following key items:
Default Campaign
This is your chosen default campaign that will be automatically attached to all your leads or those assigned to you. This option can be set generally for new leads registering via your website, or for leads coming from Zillow or Realtor.com
Associate Lead with Website
If you have multiple authorized domains in your account, then when leads are received from Zillow or Realtor.com they need to be associated with one of your websites.
Email-Header Tab
The Email Header tab allow you to add content - typically an image - for purposes for all emails going out to your leads. Your header ONLY applies to you.
For full details, see How to Brand Your Emails.
Signature Tab
Your "signature" is automatically included at the foot of every email that is sent out.
For full details, see How to Brand Your Emails.
Other Items to Review:
Notifications and Reports sent to you